
§ JOURNAL · Guide
Patent Drawing Examples: Views, Sections and Details
A useful patent drawing example helps you decide what a view must explain, not merely what style to imitate. Start with the reader's question: Where are the parts? How do they fit? What is hidden? Which detail is too small to understand in an overview?
The illustrations below are CNIPA.AI's own synthetic AI-generated drafts. They are not excerpts from granted patents, not an approved filing set, and not evidence that an invented mechanism works. Treat them as material for a review exercise, rather than as a template to submit unchanged.
Perspective view: establish the overall arrangement
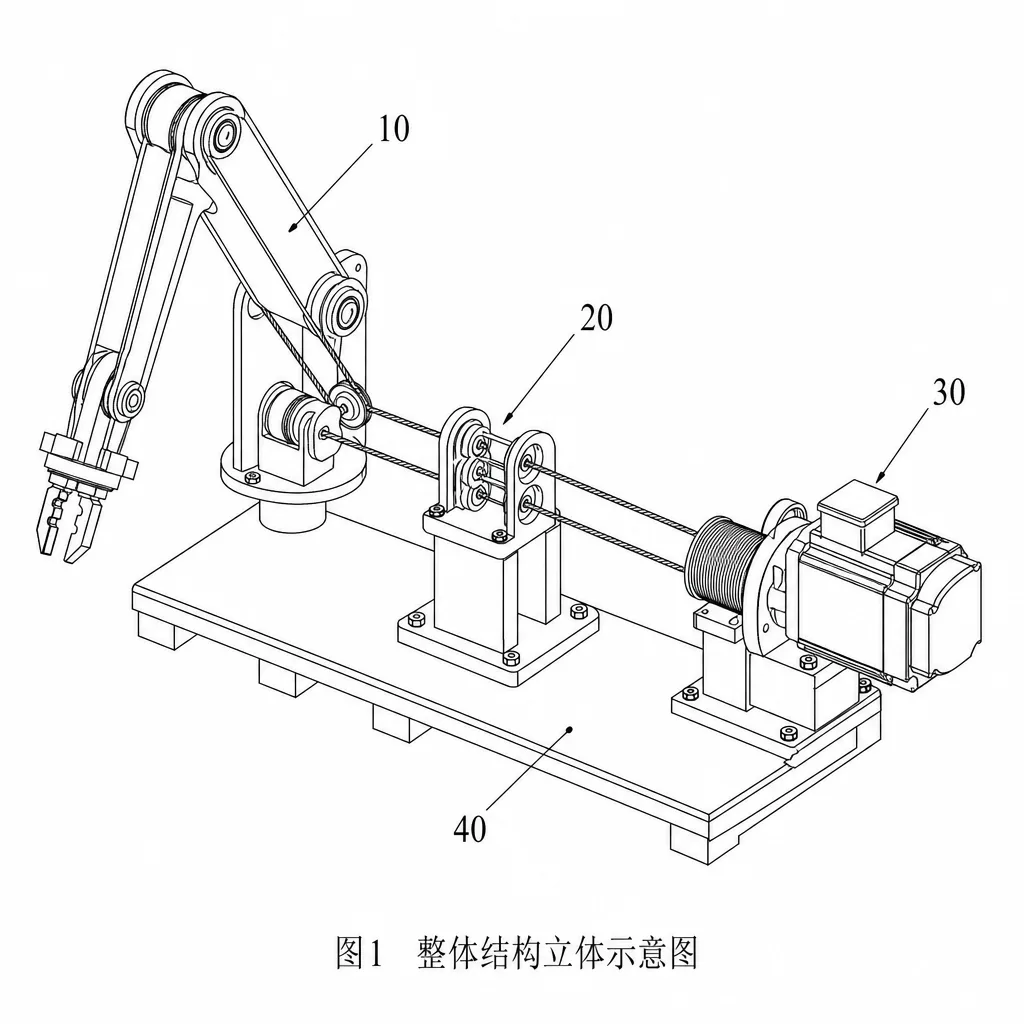
Use an overall view to orient the reader before showing internal details. In your own project, make a list of the major components that must remain identifiable in every subsequent figure. Check the silhouette, relative positions and attachment points against your source material. A plausible-looking extra fastener is still an error when the disclosure does not contain it.
Do not expect a perspective view to answer every question. Write down anything it leaves ambiguous, such as the depth of a recess or how a concealed component is retained. Those unanswered questions determine whether another view is useful.
Cross-section: inspect an internal relationship
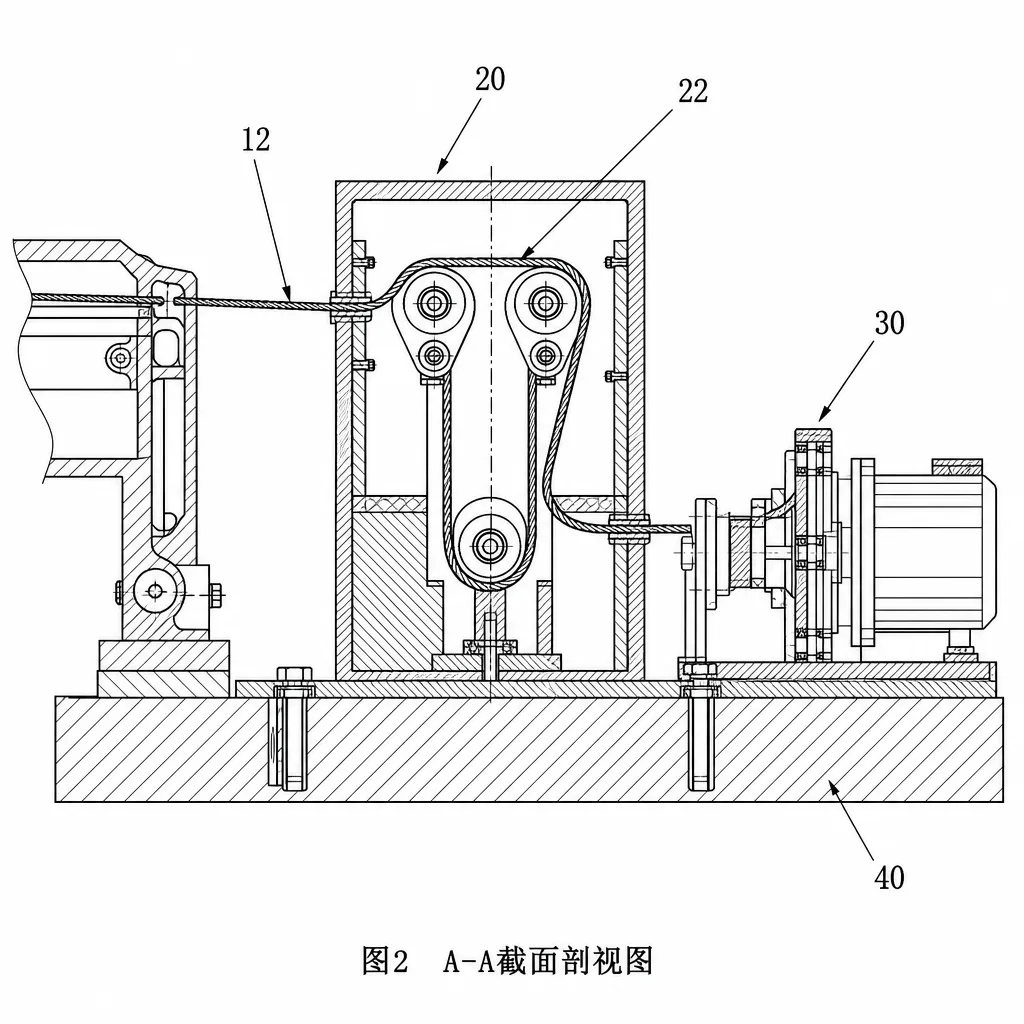
For a section-view review, identify where the imagined cut passes and follow the resulting geometry. Compare visible walls and cavities with the overall view. Flag any shape that appears in one view but cannot be reconciled with another. This is a consistency exercise, not a finding that the pictured draft is mechanically correct.
Use the same discipline with an illustrator or a CAD export: provide the intended section and what it must reveal, rather than asking for a generic cross-section. See the USPTO drawing standards for the formal treatment of sectional views and related drawing conventions.
Exploded and detail views: answer a narrower question
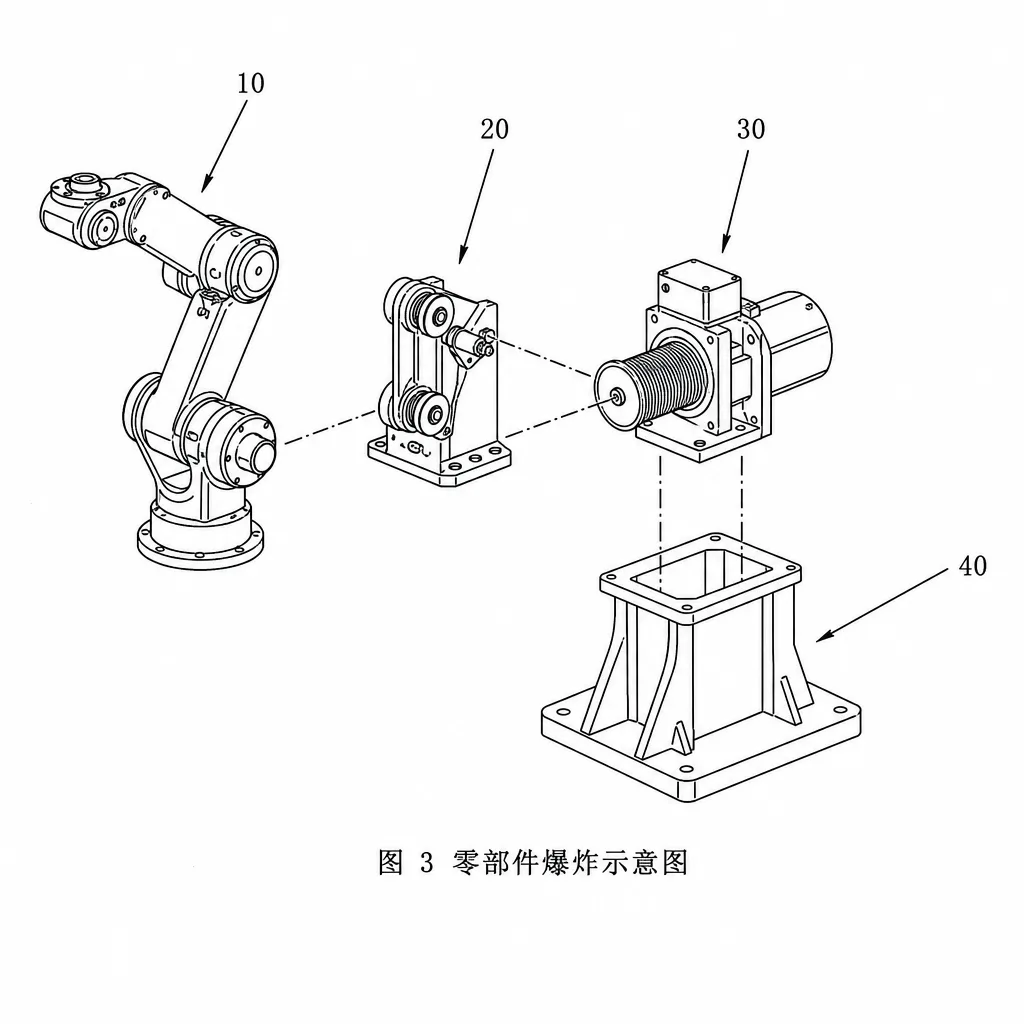
An exploded arrangement can make it easier to discuss which components belong together. Review it against a parts list: every separated component should correspond to the source, and separation should not disguise missing connections. A detail view serves a different purpose: it enlarges a feature already present, rather than inventing a new embodiment.
For a hypothetical clip assembly, a useful plan might be an overall view, a section through the latch, and an enlarged view of the release tab. That plan is a teaching example, not a required number of figures. Choose views for the particular disclosure.
Turn examples into your own figure plan
| Reader question | Candidate view | Evidence to check |
|---|---|---|
| What is the complete arrangement? | Perspective or overall view | Source model, sketch and component list |
| What happens inside the housing? | Section view | Cut location and internal geometry |
| Which parts are assembled? | Exploded view | Parts, connections and assembly orientation |
| What does a small feature look like? | Detail view | Matching geometry in the overview |
| What happens in a process? | Flowchart | Steps, branches and inputs |
Create a review row for each planned figure: purpose, source, reference signs, unanswered question, reviewer and revision. Only keep a view when it contributes something that another view does not already explain adequately.
Before you reuse a drawing style
Readability is only one check. Compare the geometry, names and figure descriptions across the complete set. Do not assume an image is legally suitable because it looks like a published patent. Requirements and disclosure goals differ, especially for design patent drawings.
Continue with the drawing preparation tutorial or inspect the AI drawing preview. The tool creates material for review; you remain responsible for technical accuracy and appropriate professional review before filing.
❖ INVITATION
Get Started with CNIPA.AI
Sign up now and experience AI-powered patent search and writing
Sign Up Free